Bootstrap Checkbox Position
Intro
In some cases the easiest details might get pretty necessary-- especially each time you get to need them. For example how do your website visitors interact with the webpages you create specifying a simple Boolean act-- just yes or no regarding a couple of the issues you require to ask, just how they do agree to the conditions and terms or line up a handful of the practical choices they might have. We typically get past this with no paying enough of an consideration to the component liable for these sorts of actions yet the Bootstrap Checkbox Design is certainly a very serious component-- one our forms can not in fact perform without.
Located in current fourth edition of the Bootstrap platform we are presented with the
.form-check.form-check-label<div>.form-check.form-check-label<label><input>.form-check-inputEffective ways to put into action the Bootstrap checkbox:
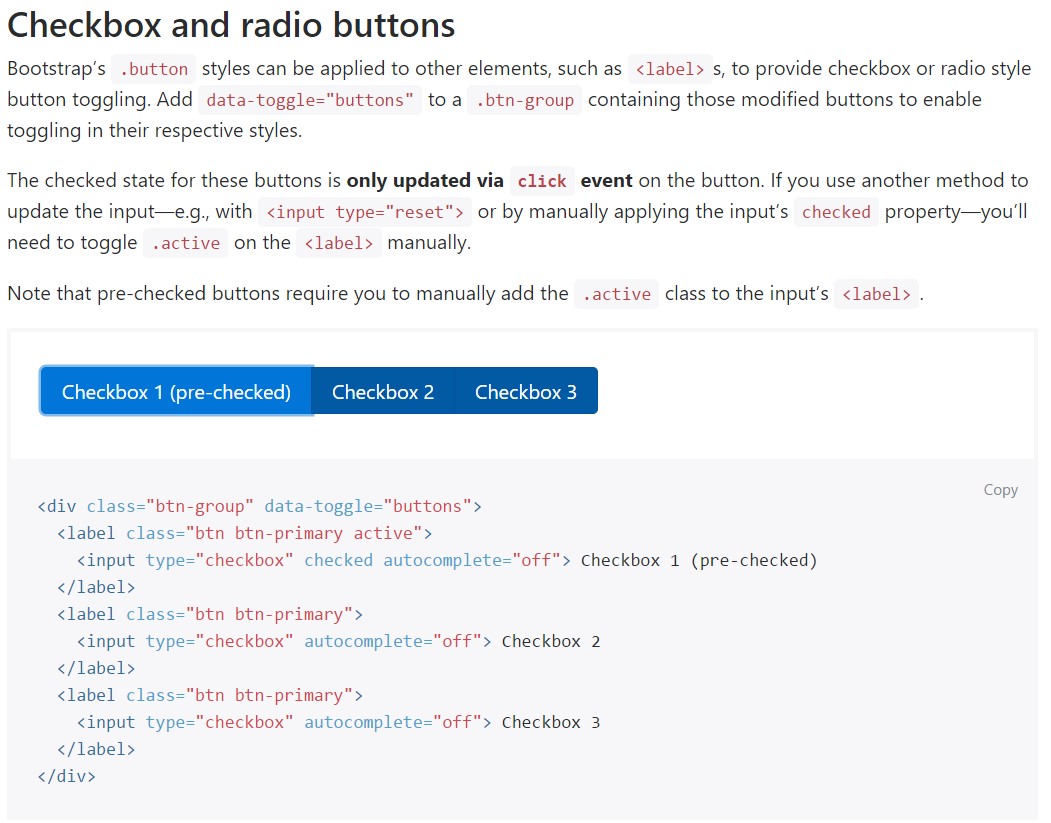
The checked status for these types of buttons is only upgraded through click event on the button. If you work with an additional approach to upgrade the input-- e.g., with
<input type="reset">.active<label>
<div class="btn-group" data-toggle="buttons">
  <label class="btn btn-primary active">
    <input type="checkbox" checked autocomplete="off"> Checkbox 1 (pre-checked)
  </label>
  <label class="btn btn-primary">
    <input type="checkbox" autocomplete="off"> Checkbox 2
  </label>
  <label class="btn btn-primary">
    <input type="checkbox" autocomplete="off"> Checkbox 3
  </label>
</div>
Once in a while we require the checkboxes to be inside our forms without the site visitor truly can get any type of activity selecting them-- that is actually where the disabled option appears.
To disable appropriately a checkbox in Bootstrap 4 applying the common HTML attribute
disabledIn case you find appealing the suggestion and indeed wish to carry this out you should certainly appoint the
.disabled.form-checkOne more case
Any time you are employing checkboxes, wrap them in a
<label>.custom-control.custom-checkboxApply
.custom-control-input<input>Additionally work with two
<span>.custom-control-indicator.custom-control-description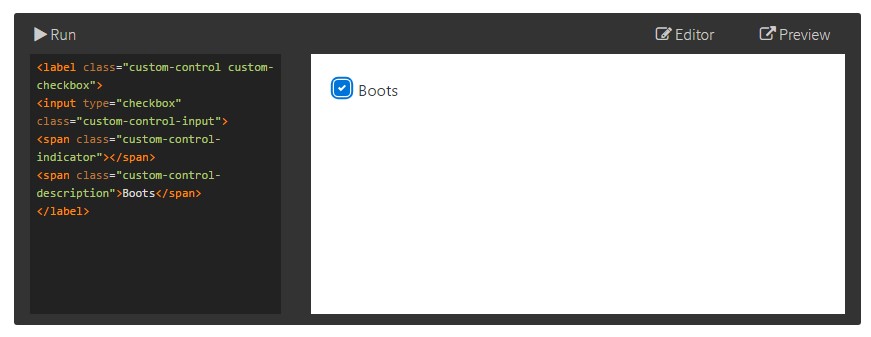
<label class="custom-control custom-checkbox">
<input type="checkbox" class="custom-control-input">
<span class="custom-control-indicator"></span>
<span class="custom-control-description">Boots</span>
</label>
Bootstrap Checkbox Label forms
Default radios and checkboxes are developed upon with the help of
.form-checkThe disabled class is going to also lighten the message color tone to help reveal the input's state.
A new component for the Bootstrap edition 4 system is the integrating of the so called custom-made form elements. These are the similar features we are known inside capability although designated a lot more desirable and also with the Bootstrap approach. With them you can certainly put in some taste and individuality to your information via simply just appointing a few special classes to the commands you incorporate in your forms.
For you to work with custom made checkboxes wrap them in a
<label>.custom-control.custom-checkbox<input>.custom-control-input<span>.custom-control-indicator.custom-control-descriptionFinal thoughts
That's essentially everything you ought to complete in order to insert a checkbox component within your Bootstrap 4 powered site and incorporate a number of customized flavor to it providing it a tasteful appeals. Now everything you require to do is repeat the exercise before you have actually examined all of the checkboxes required are currently on the webpage.
Check out several youtube video tutorials regarding Bootstrap checkbox
Linked topics:
Bootstrap checkbox formal information
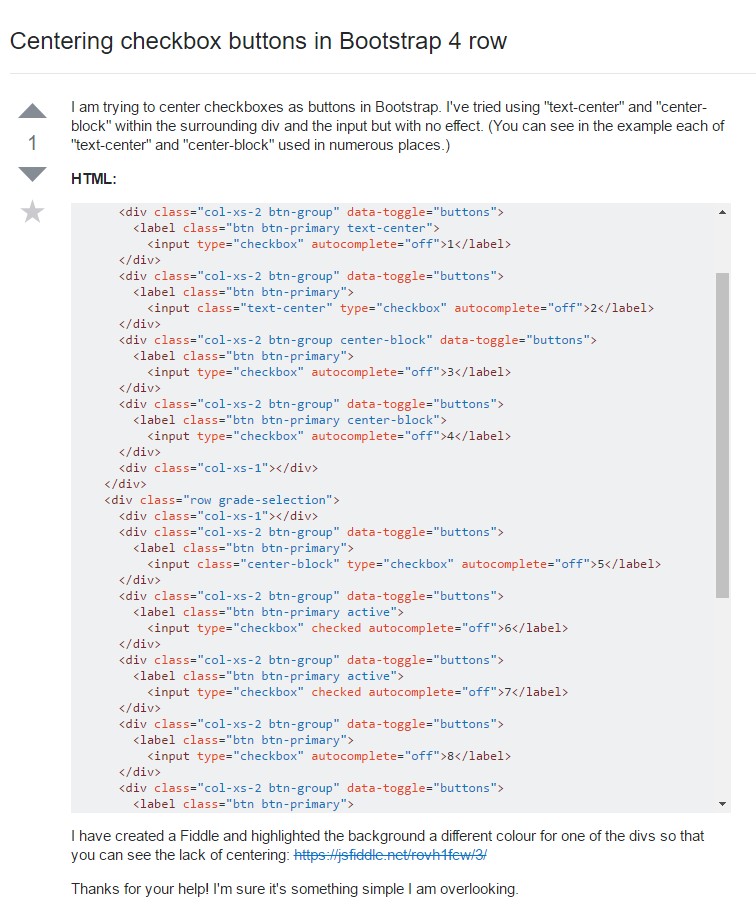
Centering checkbox buttons in Bootstrap 4 row
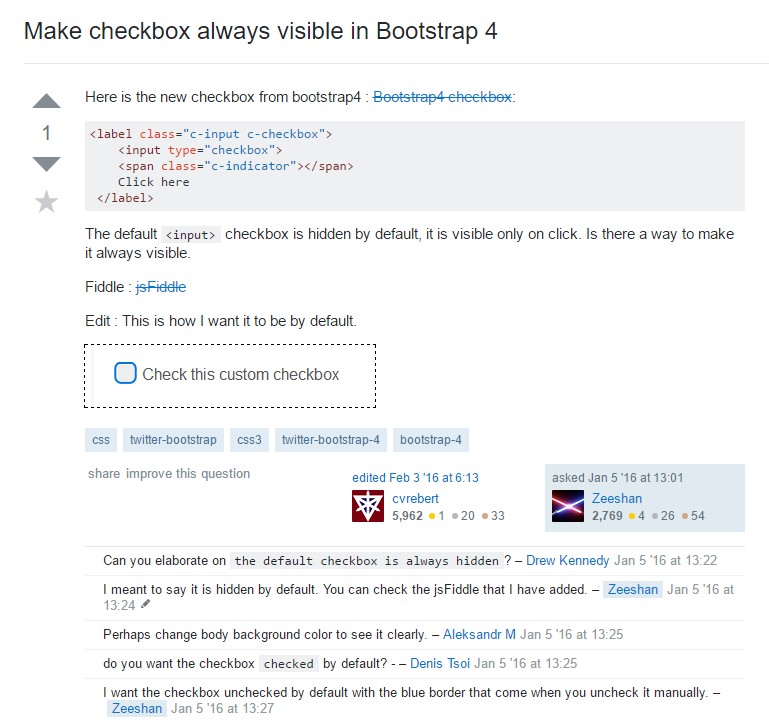
Make checkbox always visible in Bootstrap 4